Showing posts with label DT Daniella Hayes. Show all posts

Saturday, May 17, 2014

ENCAUSTIC COLLAGE

I have been curious about encaustic art for some time.  Working with wax seemed like something I would like, but I needed more information.  So I got a DVD and learned all about it.  This is what I made.
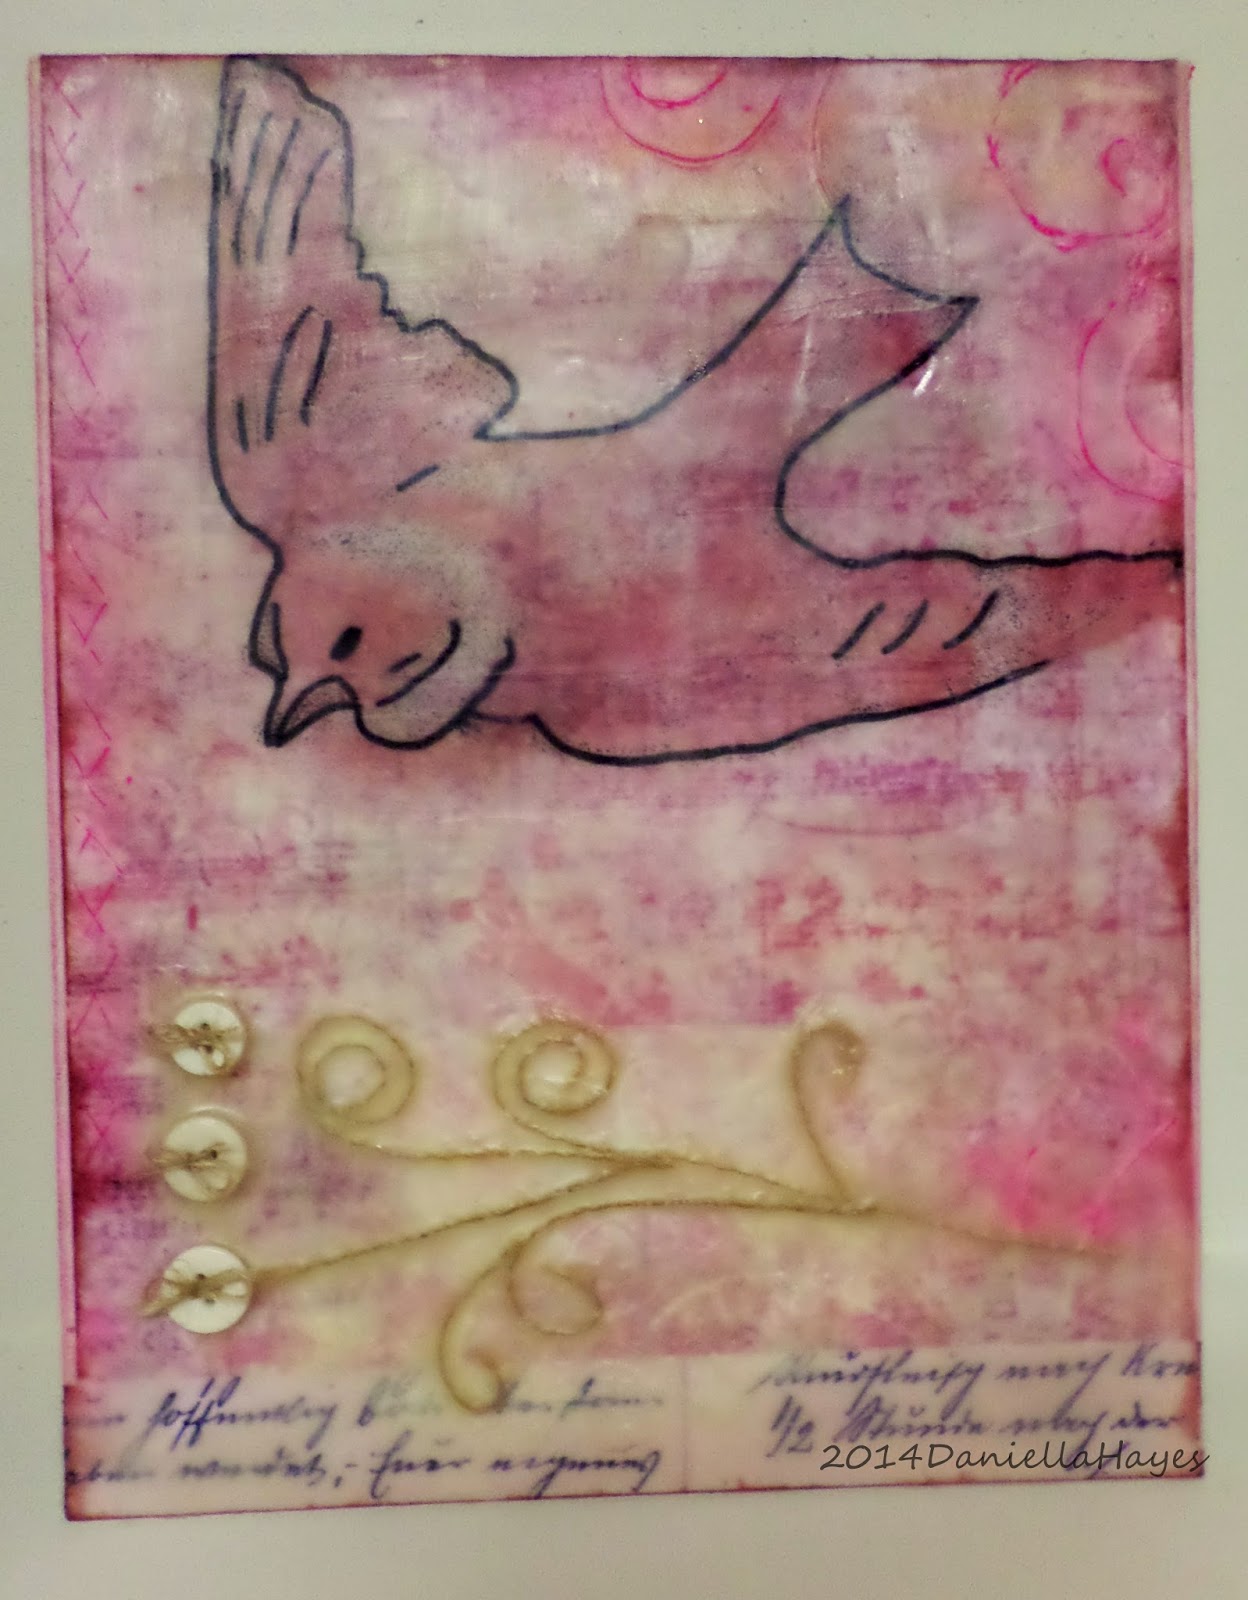
Not bad for the first time, I think!

I learned that you have to combine bee's wax with damar resin for this medium.  The resin helps the wax to stick and not flake off.  You need a heat source, like a hot plate, and something to melt your wax in, like a metal pan.  It should heat to 220 degrees.  It takes about an hour to melt.


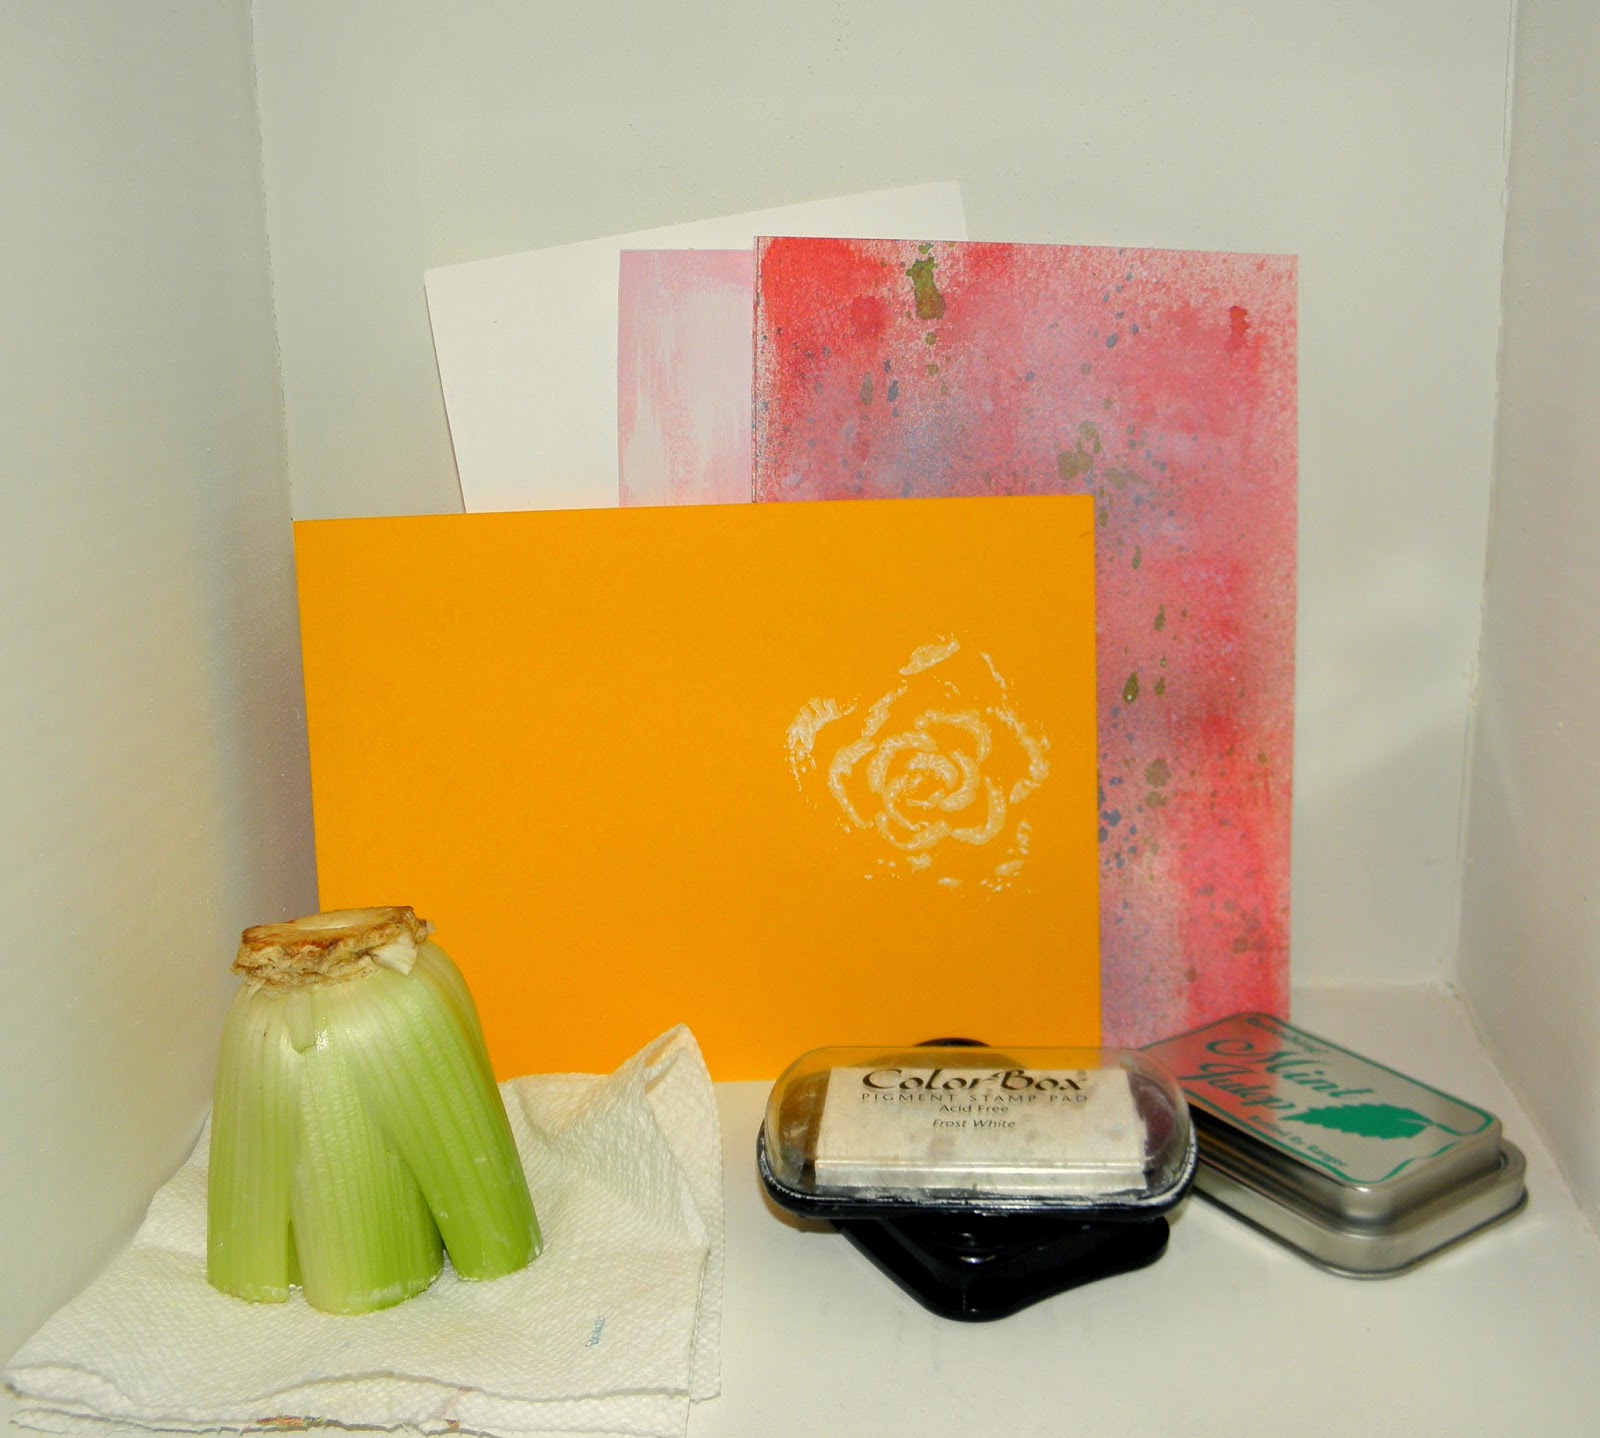
While you wait, start your canvas.  You need to use a porous surface, like wood, fiber board or clay board.   This is a great way to use up some of your scraps.  I went to my scrap basket and picked out some pieces.  Apply them with a regular craft glue or gel medium. Don't get any on the outside of the paper.  Glues and mediums contain water, and wax and water don't mix.  Let your papers dry fully.  Be sure to remove any air bubbles. 

Let your papers hang over your surface.  When it is dry, flip it over and remove the excess.  I also added ink around the edge of the board.   Now you are ready to apply wax.

I was surprised to find out you can't just apply layers of wax on top of each other.  You have to fuse each layer.  Fusing is done with a heat tool.  After you apply a layer of wax, you use a heat tool to melt it a little bit, so it is fully adhered   You want the wax to be a little shiny for a second.  If you go too far you can burn the wax.  When applying the wax, use large strokes and get across the whole canvas.  You don't want to miss areas or leave too many heavy areas.  You will have brush marks too, and the fusing helps smooth your wax out.  I started with 2 layers of wax.

After the 2 layers were fused, I outlined my bird and added highlights.  Since wax is always tacky, I was able to add the burlap strings in a flourish kind of way. I used a little wax to apply the buttons and went around them with more wax on a small brush.  I went over the whole piece 2 more times, fusing between layers.  When it was dry I incised a few areas and added oil pastel to the cut out areas.  After using oil pastels, remove excess with vegetable oil.

And that is how I used encaustic medium to make a collage.  I am very proud of my first attempt.  I can see this medium being addictive.  There are far more elaborate things you can do with wax, but this simple tutorial is a wonderful beginning, with a very easy learning curve.  

Have fun!!

Saturday, May 3, 2014

POOLS OF COLOR

I wrote this article for the Spring 2014 Issue of  Altered Arts Magazine.  It is a really fun technique that I call "Pools of Color".  It all begins with an image that you make with colored pencils and cover with white school glue.


It can be as fancy or as simple as you like.  I made a very simple flower and scrolls.  Cover with glue and let dry completely.

Get your paper wet and "drop" very wet watercolors on to the paper.  The paints will mix and do wonderful things.   And, it will not disturb the drawn image because it is protected by the white glue.  Let it dry over night.  I know it looks like a big mess, but it's the details that make this technique beautiful.


Look at your dry paper and find beautiful designs in it to trace.  So many beautiful patterns can be found.  I start with the white space, and then look in the colors.

I hope you have fun with this technique.  It is so relaxing to look for the patterns.


Thursday, April 17, 2014

ATCs TO SWAP

You know that I join the WOYWW party every week.  In a few weeks, it will be the 5 year anniversary of this wonderful weekly event! We  will be having a global ATC swap for the occasion!  I will send my 1 *which is all I have  to do* and some more to other friends.
I went to the Altered Arts Magazine sponsor box of goodies and got busy!
 
I started with my 7gypsies Collage tissue and some Mod Podge.  I applied the Mod Podge to the ATC blank and laid the tissue on top carefully.  Then I layered some 7gypsies paper, that I ripped to make it more interesting.  I used 7gypsies stamps "Numero" and Pink Paislee stamps too.  Of course, gauze and rope finished them off.
 
I can't wait to send them out!

Thursday, April 3, 2014

CELERY STALK ROSES

I have a fun project to share today!  I wrote an article about it in the Winter 2014 Issue of Altered Arts Magazine.

All you need is a nice thick paper, like watercolor paper, A stalk of celery and some inks.  Cut a straight cut across the bottom of the celery, about 2 inches from the bottom. 

 I used acrylic paint and inks to make some backgrounds.  Then, I applied ink to the celery and stamped!


How awesome is that?  They look like roses!


Just use a baby wipe to take the ink off of your celery (or cut a little bit off to get fresh celery again) and you are ready to stamp again.


All different colors of "roses"  for beautiful backgrounds.  Or, stamp them as a focal point on a card, fabric or anything.  That's the fun of art!

Who ever said you can't play with your food?

*No celery were wasted during the making of these backgrounds.  I put cream cheese and olives on the stalks and we enjoyed them very much.*

Monday, March 17, 2014

NOT ALL ALTERED BOOKS HAVE TO START AS "BOOKS"...

We are enjoying Altered Book Month. So many wonderful ideas and tutorials.  I hope you've been visited us!

I am showing a journal I made with sponsor products, back in September.  This is an empty book that is just a book.  Wonderfully empty pages inside!  Just waiting for something to be written on them.  But books like this don't have to stay plain.  Altering the cover is a fun way to make a plain book your own.
SUPPLIES:


Gather your supplies.....

Take out just one piece of the collage tissue.  The sheets are super big and there are a lot in the pack.  Get your gel medium and a paintbrush.  Paint a thin layer of gel medium on the journal and place the tissue on top.  You can also collage the tissue onto the cover.  Either way it's a fabulous look.

After it is dry, rub the ink all over the tissue.

The ink is a subtle way of brightening the journal up.  The collage tissue is called "Life" and I circled all the "Life" words on it.  I also circled a few other words.  I added some gauze to the lower center of the journal and a piece of rope.  Then I placed the canvas tag on top, some corrugated cardboard and a little tag.  I glued the other piece of rope to the back.  Some gauze and flowers on the left, and a few paperclips on the right were the finishing touches.  I use this as a handwriting journal.

So, is this an altered book. or is it just a decorated book?  Is it good the way it was or did you hear it asking for a make over too?  

Keep visiting us here on the blog.  There are lots more Altered Book posts to come!!

Monday, March 3, 2014

ALTERING ART JOURNALS~

Altered Book month is just getting started!!  I'm Sharing one of my art journals today.  Nothing finer than a row of art journals, all finished, except maybe a new art journal waiting for your next good prompt!

The journal I'm sharing is from 2010.  It has been my Everything Art Journal, made from an old encyclopedia.  The Everything journal is where you go when you don't have a specific journal.  I have a handwriting art journal, a yearly art journal, a Journal 52 art journal, a bleach journal, a gratitude journal, it goes on and on!  Many art journals going at once.  I love that!! 
I covered it with sticky paper that you would normally use with your die-cutting machine.  I used gaffers tape where the papers met, and inside on the outter edge of my pages.


So many pages.  So many thoughts!  So many colors and techniques.

Some are just black and white, others have colors and wiggly lines.

And then, there are the pages that hide my secrets.

Until it is so full, it doesn't close anymore!

Which is why you have to remove some of the pages from the book before you begin preparing your pages.  Bound books have long pieces of paper with 2 different pages on it.  It goes from front to back, like a composition notebook.  I remember being in school and trying to rip out a page from a composition notebook, only to have a page in the back fall out.  Of course, I was 6.  So when removing the pages, you need to hold a ruler close to the inside of the page and rip them out that way.  The ruler will keep the binding intact, while leaving you with room to create!  I removed a lot of pages from this poor, unloved encyclopedia from 1980 :(  It was at the Junque Store all by itself.  The letter "E".  No other volumes were there.  

After I removed the pages (and saved them to use in other projects), I glued 5 pages to each other with a glue stick.  Then I primed them with gesso and used the gaffers tape on the outside edge.  Ready to be used at any time!

Many more Altered Book posts still to come!  You won't want to miss any of them!


Wednesday, February 19, 2014

WINTER WREATH

I made this wreath for for the Winter 2014 issue of Altered Arts Magazine.  The theme was "All that Glitters".  This wreath was sprayed with glitter like crazy!  I also used glass glitter and glitter glue.  This wreath is a great recycling project because it is made with paper towel and toilet paper rolls. 


I used about 14 TP rolls and 5 PT rolls for this project. The first thing I did was run them through my Cuttlebug to flatten them.  Then, I cut them into 1" sections.  Because they are flattened, they make an oval shape.  I used a hoop that I've had for years as my shape to hot glue the ovals to.

 I glued them diagonally, and glued the end to the oval in front of it.  Here is the first row.

Then, you glue the ovals on the inside of the hoop in the same manner as the first row.  The outside second row is glued in between each oval but the end isn't glued down.  

I added yet another layer of ovals around he top and left side.  When all the ovals are on the hoop, spray paint your wreath.  It is the easiest way to color the rolls.  I finished the wreath with rolled paper flowers with tons of glitter on them and some gauze.  The buttons, resin pieces and hanger are from Melissa Frances


My wreath is proudly displayed on my front door.  When people come to the door they always tell me how pretty it is, and ask where I got it.  When I tell them it is made with toilet paper and paper towel rolls they are amazed!  I hope this inspires you to make something amazing!!

xxDaniella


Monday, February 3, 2014

ALTERED RAT TRAP

Altering rat traps is so fun!  It is a great piece to alter, for a very small investment.
I started by removing the metal from the wood base of the Rat Trap.   I sanded the wood and adhered text paper to it.  I used Ranger Industries "Perfect Pearls" to make a faux patina on the metal.  I attached the Rat Trap to a mini hanger from Melissa Frances.  The resin flower on the lower left and the clothes pins on the top right are from her too.  
Some other Ranger products I used are: Pins, A Bottle, Pen Nib, Baubles, Sprocket and Stamps.  The flowers and Inks are from Prima.

Canvas Corp. twine made the bow, and I used some of their burlap on my trap, too.  A miscellaneous key and gauze finished it up!

I would love to see your altered rat traps!  Just leave a link and I'll be sure to check it out!  If you've never altered a rat trap, give it a try!  They are a fun and inexpensive way to use up your scraps!

xxDaniella

Friday, January 17, 2014

ATCs

Hello!  I'm so happy to be making my first post to the Altered Arts Magazine Blog!!

I made 2 ATCs today, using a paper napkin technique that I wrote an article about for Altered Arts Magazine.
I coated the ATCs with Matte Medium, and placed the napkin face down onto the medium.  The other 2 layers of napkin come off easy that way. Then go over the napkin with another layer of medium and you get a beautiful background!!  I sanded the edges of the ATC, and any loose napkin will come off here.  Then, I went around the outside of them with Prima "Wood" color ink.  I glued on a piece of corrugated cardboard, a distresses a piece of book paper and an inked bit of gauze.  Last was a single mini rose.  I wrapped it up in a nice piece of rope, and I tied it with a bow!

I really hope you enjoy our new blog, and visit us often!!  Tell your friends!  There are exciting things coming soon!  We love your comments!!
Have an awesome day!!
xxDaniella