Tuesday, May 27, 2014

Friendship Fat Book Page

 Happy Tuesday everyone! leslierahye here sharing with you fat book page. A fat book page is like an altered trading card only it is 4"×4". Like an ATC, it is traded among artists--a fun little piece of art. The base of my fatvbook is a piece of book board covered with a piece of vintage advertising paper. I stamped with texture and clock stamps around the page and embossed with a Victorian Bronze powder. Brown die ink was rubbed across the entire page using a cloth to buff the surface of the page. The edges were re-inked and embossed with the same powder. A "friend" text stamp was stamped with Brilliance ink. The crochet trim was died with the same brown ink and adhered to to the page, along with the gold trim, using a white tacky glue. I hope you enjoyed my fat book page and try some on your own!

Wednesday, May 21, 2014

Sea Dreams Cottage


Houses are one of my favorite motifs for mixed-media art, so I was very excited when I learned that the theme for the Spring 2014 issue of Altered Arts Magazine was Homes and Abodes! I've always dreamed about living in a little cottage by the sea, so I decided to create a mixed-media assemblage using Sea Dreams Cottage as my theme.


Here's a little glimpse of the project while it was still a work in progress. I started with an unfinished wooden house from the craft store.  Color Wash papers from Pink Paislee provided the perfect backgrounds for a painterly pink-washed sky, blue seas, and soft green sea cliffs.


I used snippets of my favorite fabrics and vintage trims to create the scenery, and vintage buttons from my stash for the finishing touches. I thought the watercolor vellum banners from Pink Paislee looked so coastal and charming!


If you haven't ordered your copy of the Spring 2014 issue of Altered Arts Magazine, you can do so here. You'll be so inspired by the beautiful projects inside!
Happy altering!
Kimberly

Saturday, May 17, 2014

ENCAUSTIC COLLAGE

I have been curious about encaustic art for some time.  Working with wax seemed like something I would like, but I needed more information.  So I got a DVD and learned all about it.  This is what I made.
Not bad for the first time, I think!

I learned that you have to combine bee's wax with damar resin for this medium.  The resin helps the wax to stick and not flake off.  You need a heat source, like a hot plate, and something to melt your wax in, like a metal pan.  It should heat to 220 degrees.  It takes about an hour to melt.


While you wait, start your canvas.  You need to use a porous surface, like wood, fiber board or clay board.   This is a great way to use up some of your scraps.  I went to my scrap basket and picked out some pieces.  Apply them with a regular craft glue or gel medium. Don't get any on the outside of the paper.  Glues and mediums contain water, and wax and water don't mix.  Let your papers dry fully.  Be sure to remove any air bubbles. 

Let your papers hang over your surface.  When it is dry, flip it over and remove the excess.  I also added ink around the edge of the board.   Now you are ready to apply wax.

I was surprised to find out you can't just apply layers of wax on top of each other.  You have to fuse each layer.  Fusing is done with a heat tool.  After you apply a layer of wax, you use a heat tool to melt it a little bit, so it is fully adhered   You want the wax to be a little shiny for a second.  If you go too far you can burn the wax.  When applying the wax, use large strokes and get across the whole canvas.  You don't want to miss areas or leave too many heavy areas.  You will have brush marks too, and the fusing helps smooth your wax out.  I started with 2 layers of wax.

After the 2 layers were fused, I outlined my bird and added highlights.  Since wax is always tacky, I was able to add the burlap strings in a flourish kind of way. I used a little wax to apply the buttons and went around them with more wax on a small brush.  I went over the whole piece 2 more times, fusing between layers.  When it was dry I incised a few areas and added oil pastel to the cut out areas.  After using oil pastels, remove excess with vegetable oil.

And that is how I used encaustic medium to make a collage.  I am very proud of my first attempt.  I can see this medium being addictive.  There are far more elaborate things you can do with wax, but this simple tutorial is a wonderful beginning, with a very easy learning curve.  

Have fun!!

Thursday, May 15, 2014

Letters Home--a closer look

Did you see the Letters Home book in the Spring 2014 issue of Altered Arts Magazine?  It was the first time I've made this type of altered book;  it was a little different for me.

It's a book with a niche full up of simply bound tiny books, and as the piece is entitled "Letters Home," all of the enclosed booklets contain images and proverbs or sayings pertaining to home.  Here is a closer look at some of the booklets:
nest and crown stamp from Something Tattered
Each of the enclosed booklets has tags/charms/found items attached at the outer spine.
collage images by Retro Cafe Art and ARTchix, LOVE stamp Pink Paislee

arrow by Something Tattered, heart & happy by Lawn Fawn
background stamps Something Tattered, collage image ARTchix
Been working on my lettering--can you tell??
Happy Thursday, everyone!
:)trisha

Tuesday, May 13, 2014

Homes and Abodes


The new Spring 2014 issue of Altered Arts Magazine is available NOW and I am honored to be featured on the cover!!! For this issue focusing on Homes and Abodes I created this fun house from an altered box! I wanted to share with you some of the features : 

Embossed and shaped die cuts enhance the base of the box.

Foam blocks were carved and covered to emulate painted brick accents. 
Blocks were left raw and colored with chalk to give the impression of raw brick. Tiles were created with embossed brown paper sack!

This makes the perfect place to hide little treasures on a bookshelf! Check out the complete article in the current issue available HERE!


Wednesday, May 7, 2014

Altered File Folder 6 Pocket Book


A happy day for me is spent cutting, pasting, painting, collaging, and making books! This altered file folder project combines all my favorite things in one colorful package!


I was inspired by these pretty papers from Lawn Fawn to use red, black, and a dash of blue for my main color palette.


The base for the book is a standard manilla file folder. A few simple folds are all you need to turn the folder into a book with 6 pockets! You can score at the fold lines if you wish, but I just folded away and burnished the fold lines with a craft stick. I prefer to make the folds before I begin adding any collage materials. The folder will be a bit bulky once you've added all those layers of paper, tape, and paint, so it's easier to manipulate if the folds are already created.


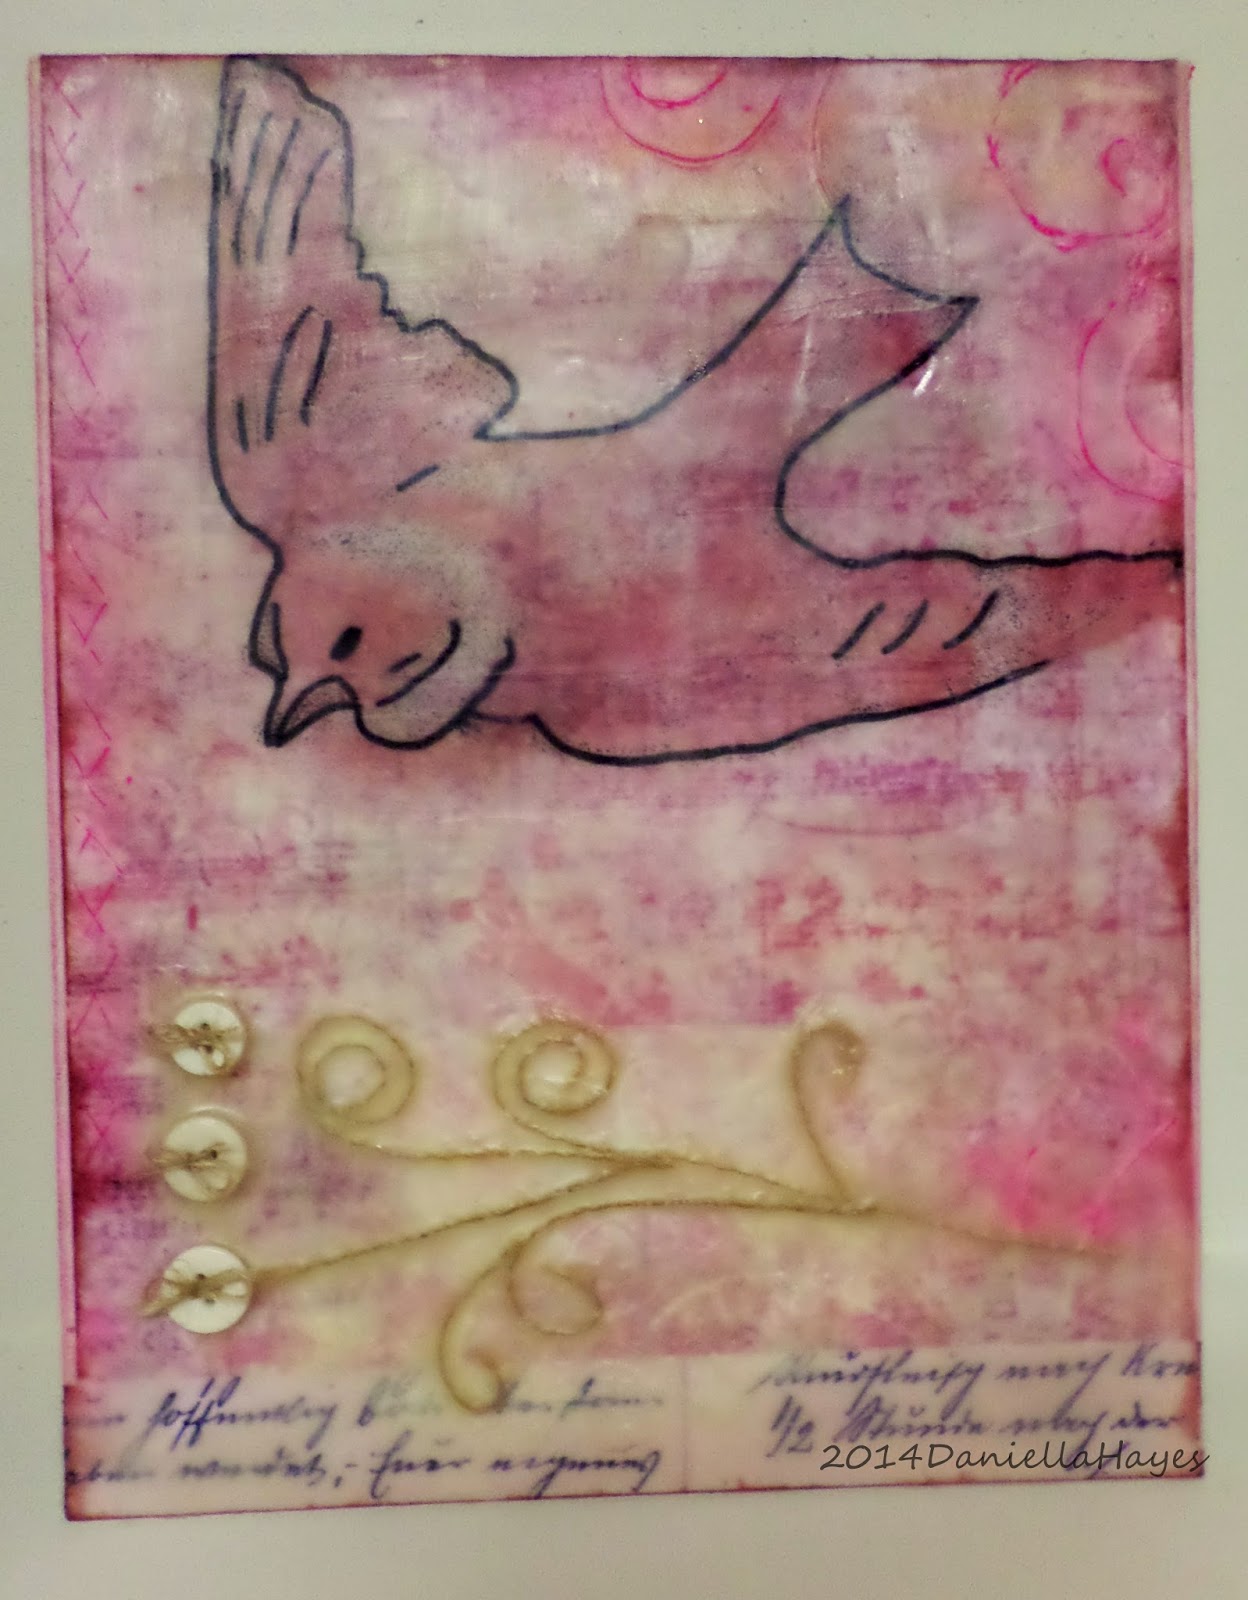
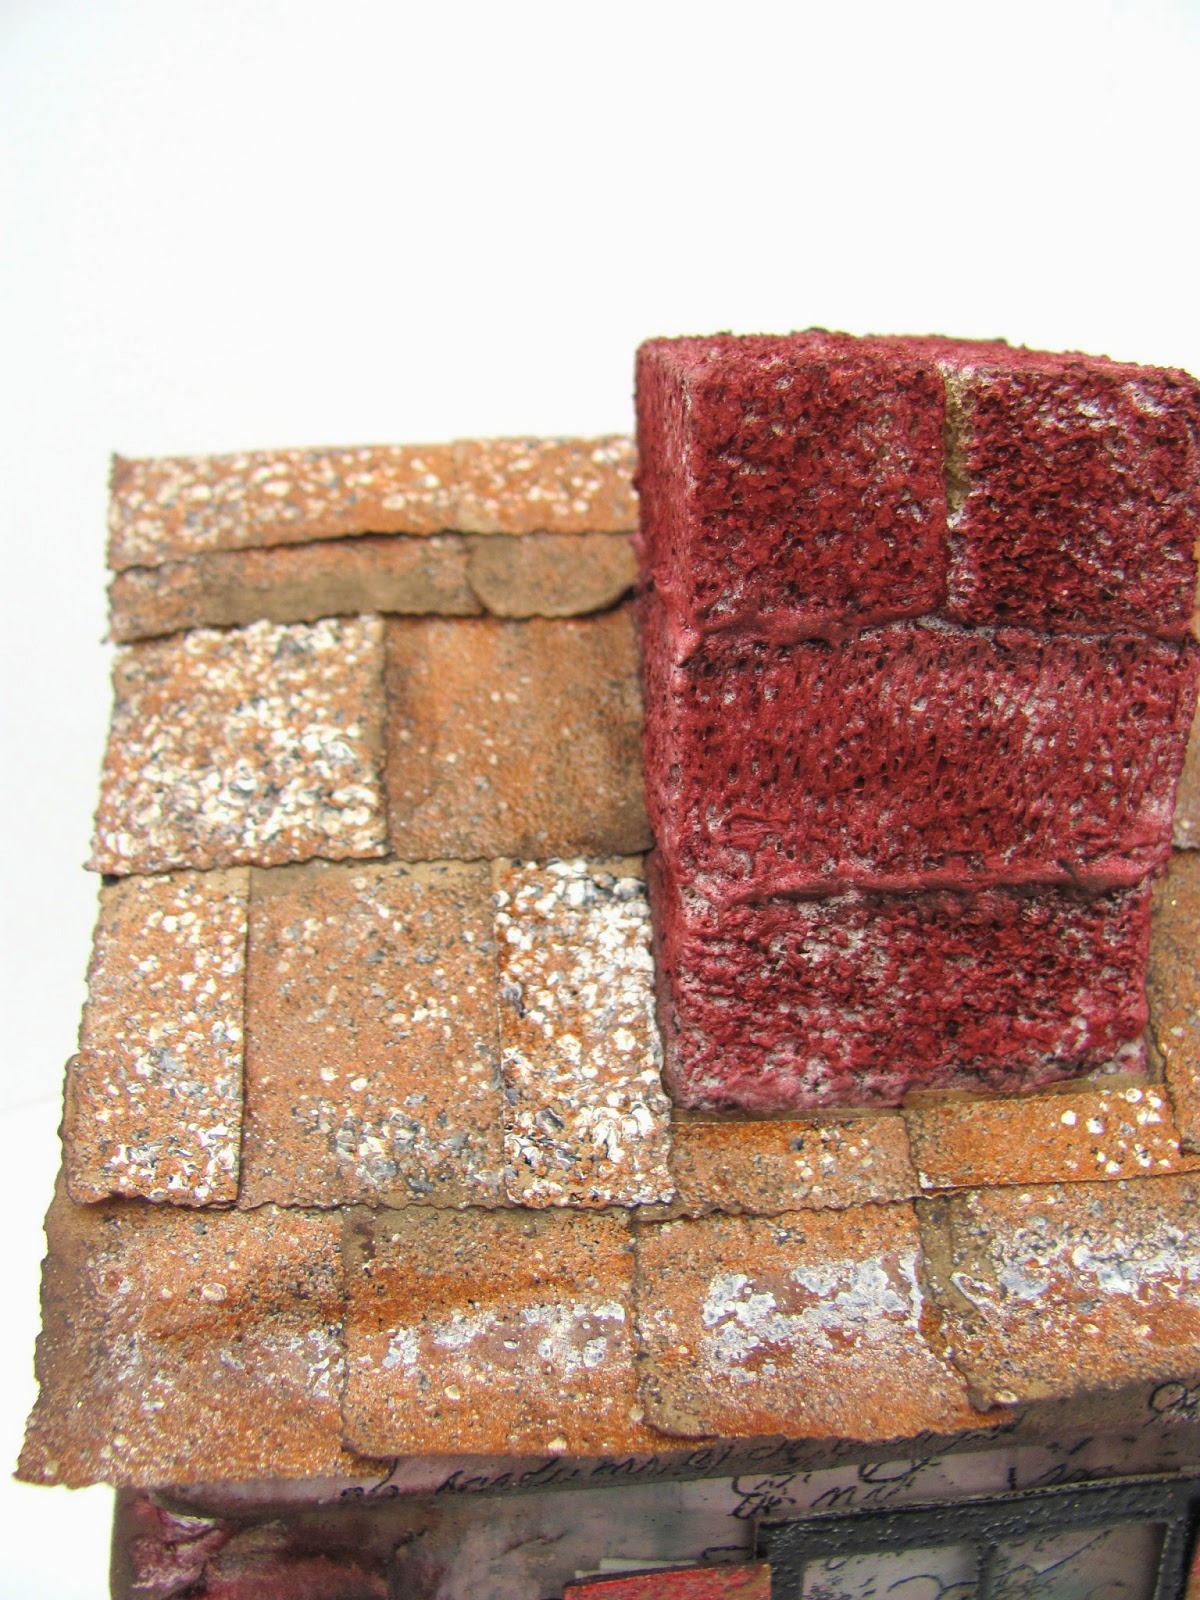
I added layers and layers of torn paper, acrylic paint, gesso, tissue paper, along with Washi tape, fabric tape, and masking tape. Just play with your favorite materials and techniques until you've covered all parts of the folder, or just the parts that will be seen if you prefer!


The inside of the book has two pockets. I tucked in some glittery postcards from the amazing Book for Paper Lovers by Flow magazine, and a quote from that same book that I cut apart. {See a flip-through of this fabulous book on my Instagram account @artfullvintage}


Here's the back cover of the book. The glittery postcard is tucked into one of the side pockets, and a large manilla tag is in the other pocket.


Creating the side pockets is very simple. Just add double-sided tape to the top and bottom edges of the folder as shown. I'm showing the plain folder here, but be sure to add the tape AFTER you have finished collaging the folder!

I hope you enjoyed this fun and easy project and that you will make some file folder books using your favorite colors and materials. Happy altering!
Kimberly

Saturday, May 3, 2014

POOLS OF COLOR

I wrote this article for the Spring 2014 Issue of  Altered Arts Magazine.  It is a really fun technique that I call "Pools of Color".  It all begins with an image that you make with colored pencils and cover with white school glue.


It can be as fancy or as simple as you like.  I made a very simple flower and scrolls.  Cover with glue and let dry completely.

Get your paper wet and "drop" very wet watercolors on to the paper.  The paints will mix and do wonderful things.   And, it will not disturb the drawn image because it is protected by the white glue.  Let it dry over night.  I know it looks like a big mess, but it's the details that make this technique beautiful.


Look at your dry paper and find beautiful designs in it to trace.  So many beautiful patterns can be found.  I start with the white space, and then look in the colors.

I hope you have fun with this technique.  It is so relaxing to look for the patterns.


Thursday, May 1, 2014

Happy May Day!

Vintage alphabet stamps


A little May Day card---atc size, 2 1/2 by 3 1/2 inches

Gelli plate print backgrounds


collage images from Altered Pages


It's a tiny pop-up card, can you tell?
The violets are blooming all over our backyard!
Happy May Day!
:)trisha