This is the last of my more regular posts for Altered Arts Magazine. While I am busy with other artistic endeavors, I will be posting periodically as the occasion arises. Altered Arts with Mixed Media is my heart and soul!!! Keep a look on my blog and FB to view more ideas and art published in Altered Arts Magazine. Thank you all for your positive input. It has been so enriching helping those who need ideas and want to know more about "how to." Keep emailing me and messaging for input.
I am in awe of all the posts by the design team showcasing tips, techniques, and glorious eye candy with art designed within books.
Although this is not an altered book, I felt it important to show other ways to upcycle books and create new, useful art. Chipboard or wood is great when covered with old book pages. I would make a copy of the page (One of my favorite books), adhere and cut with a knife. Further embellishment can be achieved with watercolors, stencils, paints, and beads.
I am drawn to Victorian images, layering and collaging - fast and easy. As shown on other posts, I adhere several pages in a book together to give strength to the surface.
Word paper is added on the left side and a collage image of the child. The left side started by using a metallic, thick body paint for the background. A quote is added with ribbon and grommets around it. Punch out letters is added to the bottom. Most times I like to express a thought, song, or feeling in my altered book art.
For those who do not want to do art in a pre-made book, you can make your own using other art you have created, along with scraps of left over cardstock. 2 pieces of Davy board (heavy bookmaker's cardboard) was used for the cover. I have plenty of it on hand.
The cover was made by cutting some of my designed paste paper to fit over the Davy board. The word "inspire" is stamped on the front.
A long scrap of cardstock is folded accordion style and glued to the inside cover. Before that, the piece of cardstock is enhanced with oil pastels and layering of stamp images.
My last post showed using unusual media like wall glaze. here I used wall glaze, watercolors, oil pastels, collage images, and embellishments. The one embellishment by the "Dream" quote I handmade with mica powder, creating a mold, and thick embossing powders.
For those who like to scrapbook, here is a page on an old board book. Inks were used on this page, however, chalks, and spray inks would be fabulous as a background as well! Background paper was ripped, and scrapbook ephemera added.
Cutting, and shortening covers add excitement and texture to your books. This was my display at CHA in 2007.
In "Board Book Play," by C&T Publishing, I created a mini necklace from a small board book. Leather and Velcro tabs holds the cover closed.
I adore to create in board books. Yard sales has many children board books for pennies! Although, I have been sent blank books, I have a stash of children books - one's I wouldn't save for grandchildren, eaten and beaten books.
A window is cut out and a transparency printed out on my ink jet printer. The image is my own graphic design. Paper, paint, fibers, and a rub on complete the look.
Here is another two pages showcasing how to create art without using paint. Scrapbookers love to create in this style as well as other paper artists. There is even room for a photo to complete the page! Add dimension by not collaging all elements flat, cut them out and use scrapbook Glue Dots (the thinnest dimension dot).
By sponging paint colors when wet, the shades blend to form other colors. Stamping on the background, embellishments and created graphic stickers convey my expression.
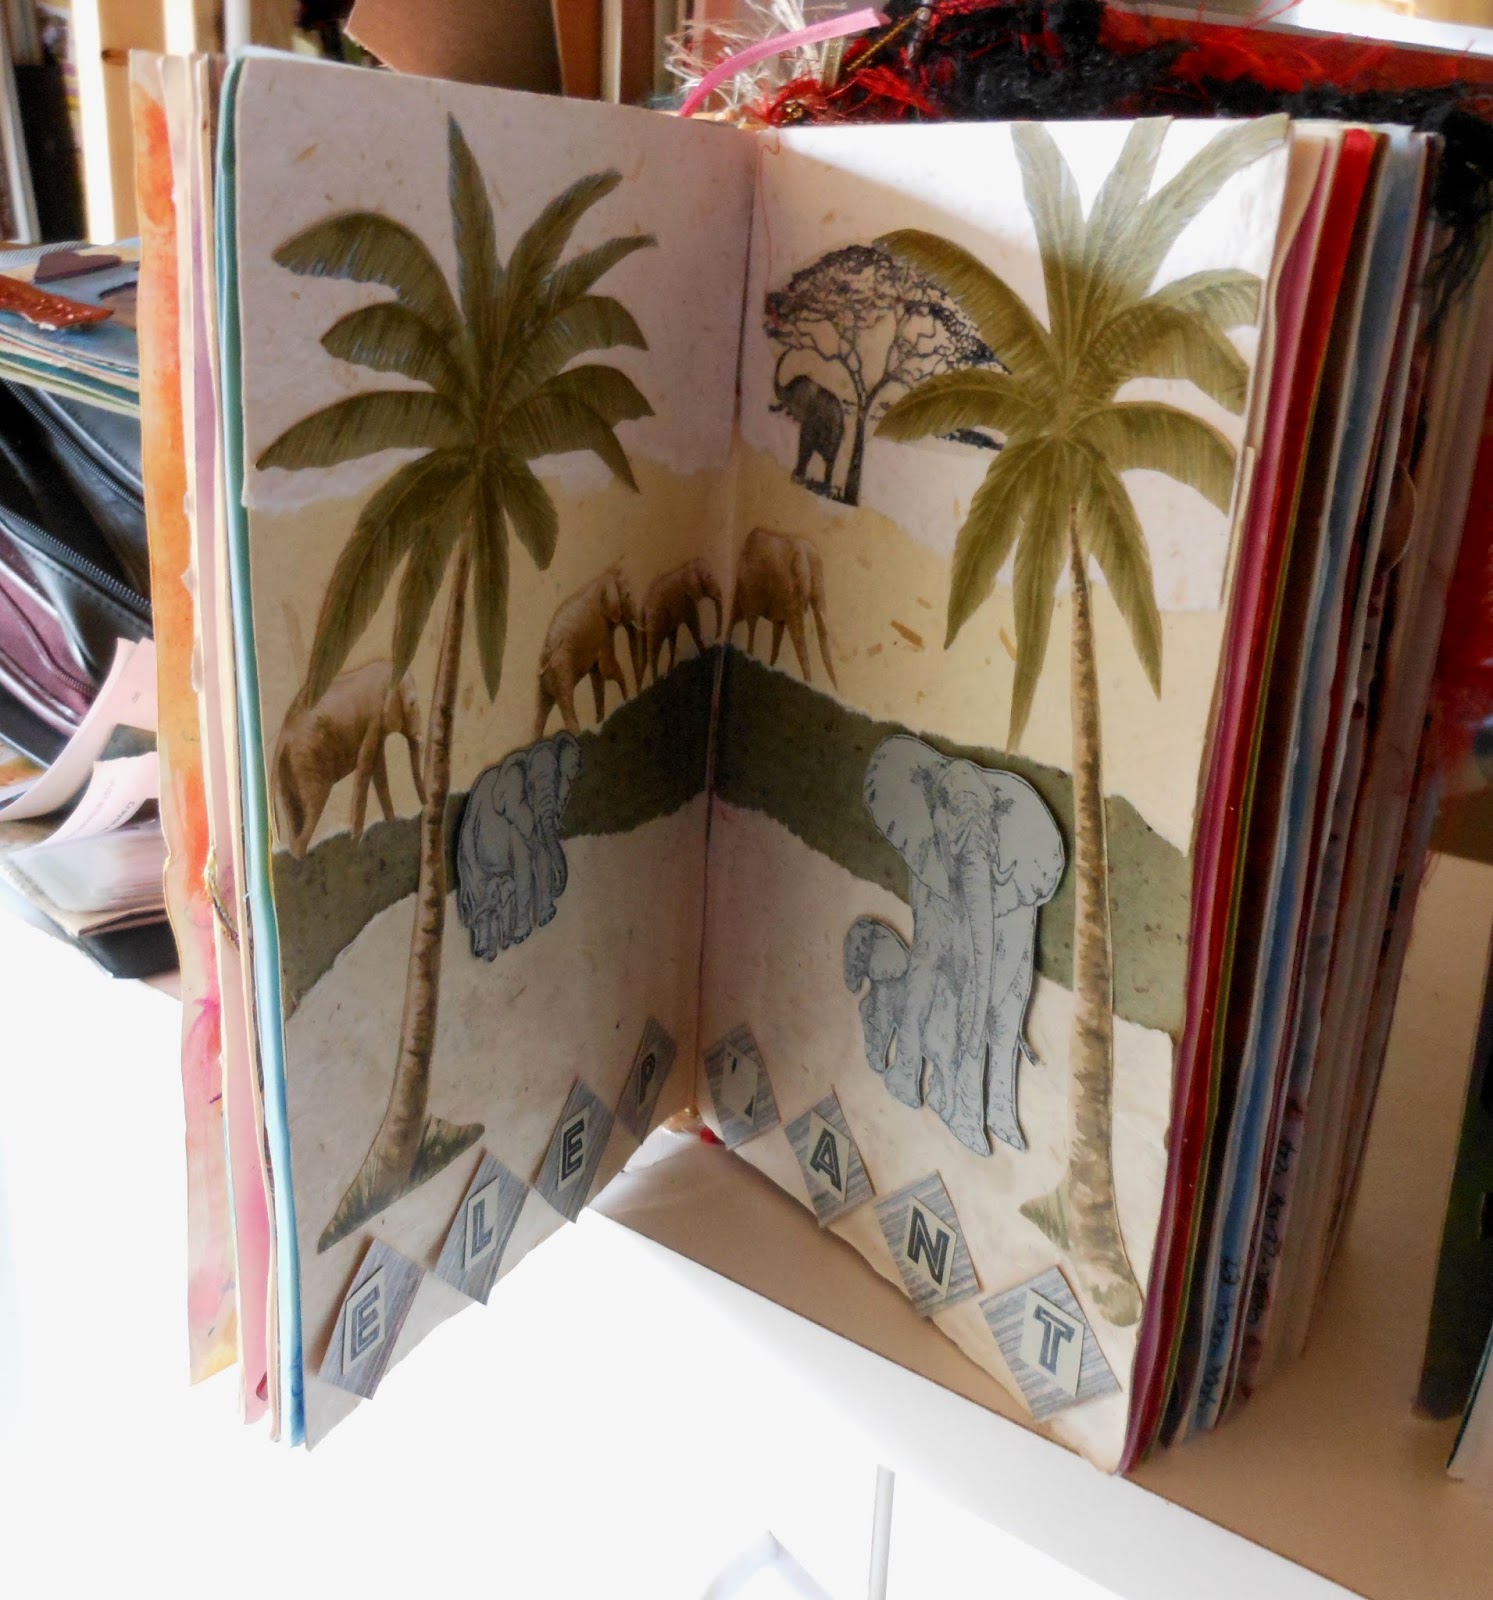
This was from an alphabet "Round Robin" I participated in. On the right side, I put the letters of the alphabet that each person was using in their designs. When I received my book back, I knew who did what art on the various pages. A fun index!!!
Many ways to alter books with various media!!! Some art even makes a statement!!!
I chuckle that the cat is drinking catnip, there is bones in a bottle, and the shirt has a stain. Children are the most free and creative people I know!!!
I know there are so many ideas and examples on this post! As always, I will be around to answer emails and messages on FB. I am here to help and inspire when I can.
Thank You!
Cre8tivelea Yours - Lea


.JPG)


Lea, your beautiful books truly shine in this wonderful post! I love the wide variety of techniques that you highlighted and your vibrant artwork! It's been a pleasure to be on the Design Team with you. Best wishes for all your future endeavors!
ReplyDelete